|
|
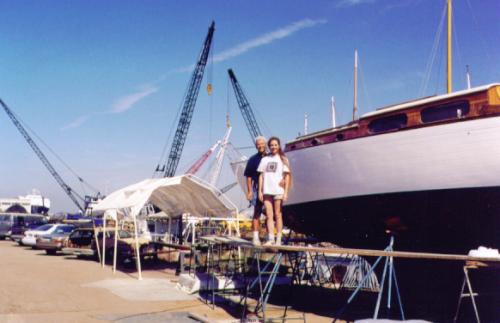
| HALE MAKAI is a documented K-40. Jim was not aware of her hull number when we talked. He did tell me that in 1975 he and his brother sailed her from Hawaii to Seattle. We'll save that story for the "The Record" section of the page. | 
|
|
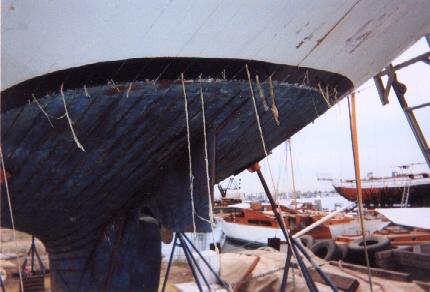
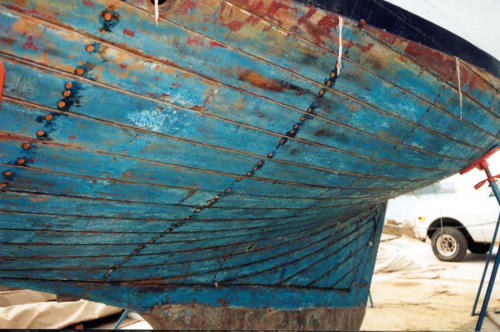
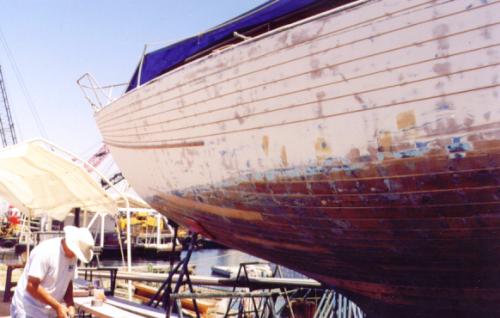
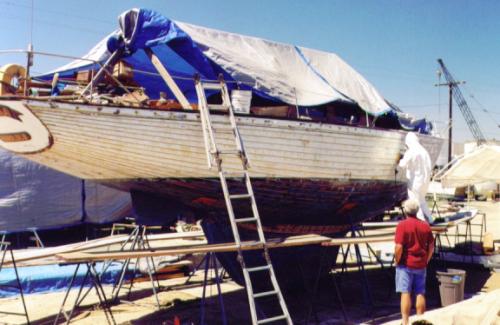
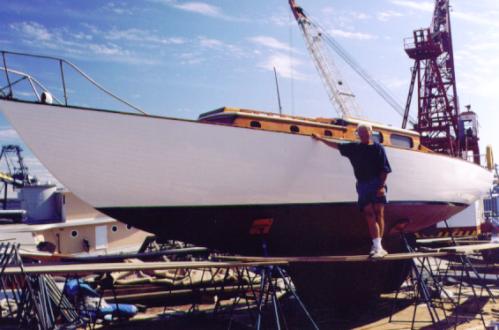
The seams on HALE MAKAI have been reefed as she sits on the hard in the yard of Wayne Ettel. Jim intends to fill the seams completely with 3M 5200 rather than a conventional "cork and caulk". |
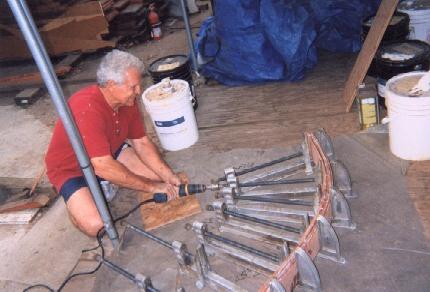
| After having traced a pattern for each pair of ribs on a door skin Jim uses the patern as his template to arrange the aluminum clamps which will be used to bend the laminated strips of wood. The clams are then bolted to the plywood which has been constructed for the purpose. | 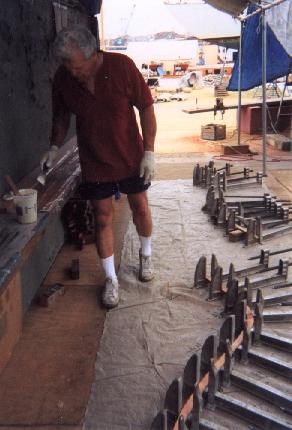
|
|
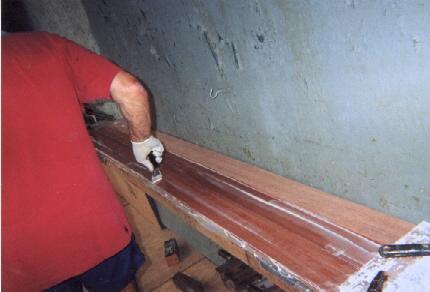
The hardwood Apitong is used for the frame laminates. The wood is cut in strips four inches wide by 3/16 inches thick. Each strip is sanded smooth. The sanding prepares the surface of the wood to accept the epoxy glue. Jim and Wayne use a two part epoxy supplied by BJB of Tustin CA. the product is TC 4206 part A and B. It is mixed in a 1 to 1 ratio. Both Jim and Wayne prefer this product over West Systems or Smiths or other commercial epoxies. They had no experience with Maas epoxy. |
| Once the strips have had the epoxy applied with a spreader Jim opens the clamps to accept the stack of laminates and epoxy. | 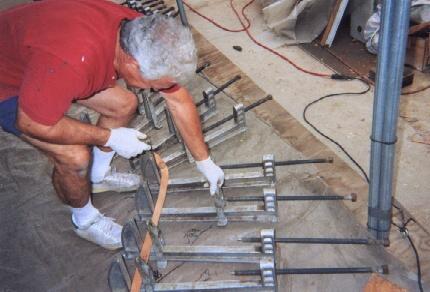
|
The stacked Apitong strips and wet epoxy are placed in the clamps. 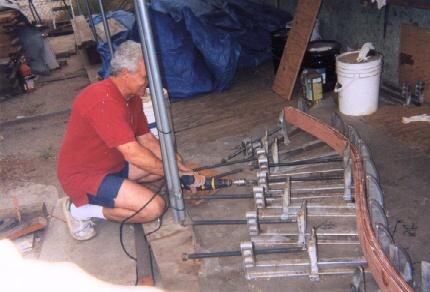
| 
|
|
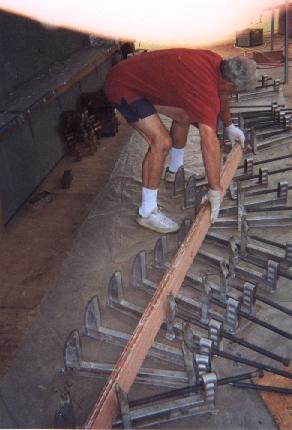
Jim aligns the raw frame and holds it in a slight curve whilst making sure that it is located in the clamps so as to take full advantage of the curve. |
| With his drill and a socket Jim runs up each clamp . SLOWLY and CAREFULLY so as not to stress the wood in this initial bend. Jim reports that he learned to do this SLOWLY AND CAREFULLY the hard way. CRACK!!! It only took that happening once, eh Jim?! | 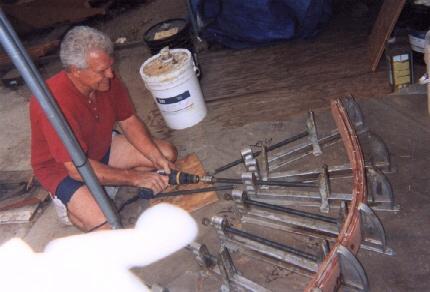
|
|
Jim visits each clamp a number of times to establish the curve in the raw stack. |
| The initial bending with the drill takes just a few moments, but it is accomplished with care and frequent checking of alignment. | 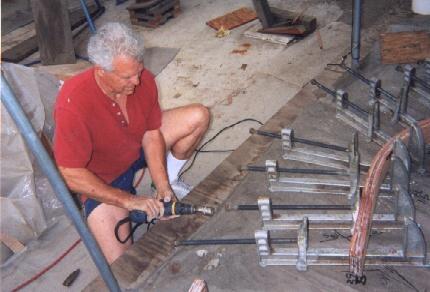
|
|
|
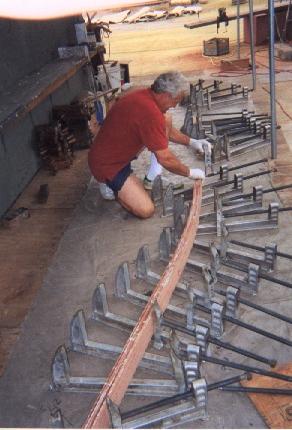
The clamps as "snugged" up with a ratchet wrench. The clamps are not fully tightened at this point as more clamps have yet to be applied to the raw frame while still wet. |
| The next series of clamps (about 4 of them) are used to align the wet strips so that they don't "squirrl" out of the stack. | 
|

|
The final series of clamps are placed between each of the aluminum clamps. These clamps are protected from the epoxy by strips of plastic placed around the raw frame. The aluminum clamps are impervious to the epoxy and can be cleaned. |
| Once the third series of clamps are in place and tight Jim revisits the aluminum clamps with the ratchet for a final tightening. | 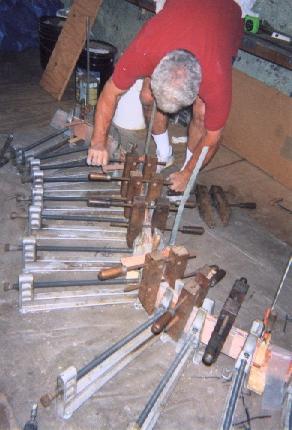
|
NOT SHOWN: The laminated, shaped frame is removed from the clamps. This is then ripped up the center creating a matched pair of frames ready for installation.
Other Misc. Pictures
   |
 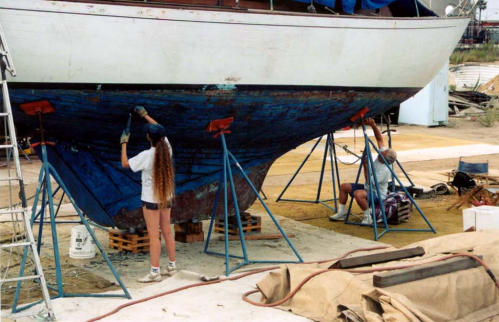  |
 Jim Carlisle is making lots of progress on replacing the ribs and floors in HALE MAKAI. As of 05/08/03 it appears that all the ribs are installed, and Jim is working on the floors. |
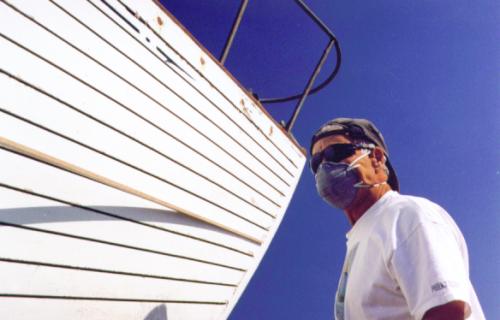
 HALE MAKAI on the hard in the yard of Wayne (BOATSWAYNE) Ettell of Wilmington. |
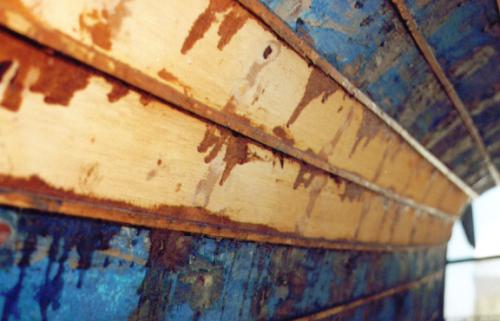
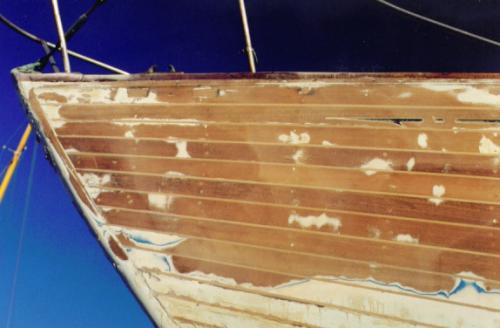
 Hull is prepared for receiving the splines by cutting a "v" shaped groove in each seam with a specially made circular saw blade made by Wayne. The cut stops short of the bottom of each seam. A batten is used to assure the cut is true. Here you see the batten in place with some of the seams already cut. |
 Splines are cut. The shape of the spline mirrors that of the cut made in the seams except that the spline is a few thousands of an inch smaller than the grooved seam. |
 The radial saw blade leaves a tapered finish at the end of each seam. Accordingly, each spline must be shaped to fit here as well. |
 Checking the fit of the spline before epoxy application. |
 Splines epoxied in place. Wayne Ettel has used this method for about 15 years with great success. He uses a slow curing expoxy. (Not West's) |
 Look closely at the spline ends exposed here at the transom. You can see the tapered shape. Note that the spline "bottoms out" inside the seam.. In other words, the "v" cut does not go all the way through the seam. |
 All splines in place. |
 Let the fairing begin!!! |
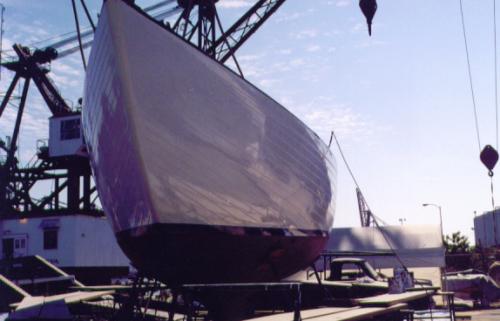
 The entire hull is faired to wood. |
 Close up look at the fairing to wood. |
 Rolled and tipped with no brush marks. BRISTOL fashion. Requires a steady hand and lots of patience. |
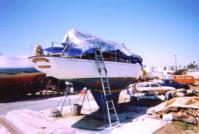
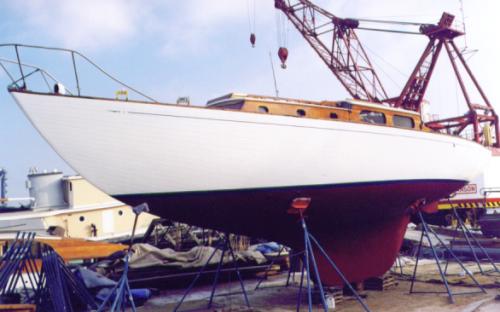 A full on photo of the finished project. She's awaiting the truck to transport to the marina. |
 Ah HA!! The real secret behind the gorgeous paint job: a woman's touch. Nice job Vicki!! |
 Many thanks to you Jim for your commitment and desire to keep your woodie alive!! Your efforts at renovating and improving the condition of your Kettenburg adds value to every Kettenburg afloat. Every Kettenburg owner can thank you for your success. |
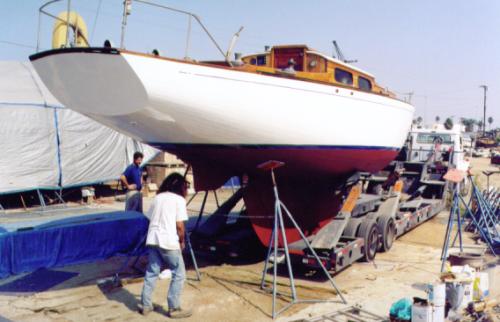 Wilmington Boat Movers load HALE MAKAI on the trailer for a trip to the crane and water. Jim reports that she took on water like most woodies, but not through the splines. The water came through at the shaft log until the wood, and 5200 he used at that location, swelled to close the seepage. |
SPECIAL NOTE: "This project was made 'do-able' for Jim and Vickie thanks to "the incredibly patient and steady BoatsWayne who advised, corrected and demonstrated for us all along the way. We could not have done this without his expertise"" Jim and Vickie 11/14/03 |