July 2001
Page 5
Page 1 | Page 2 | Page 3 | Page 4 | Page 5 | Page 6 | Page 7| Page 8
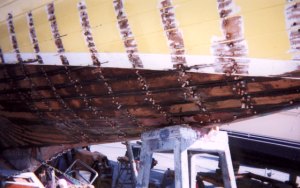
A glorious sight, believe me. Plugs filling holes left by removing
the remains of screws once the ribs are torn out and plugs covering the
heads of screws fastening the planks to the newly laminated ribs. The
plugs are sawed off flush with the plank surface with a Japanese saw,
they are then sanded before fairing.
Above the water line we removed and replaced the screws only as the
ribs and planks were intact and without the ravages of electrolysis.
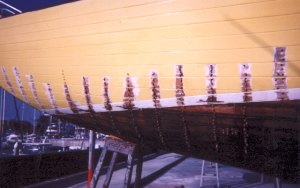
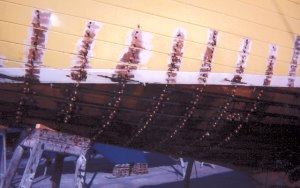
Another dramatic scene because it illustrates the fact that new
screws are in place and covered with plugs. Notice the fresh plugs
covering up the new screws used to fasten in the new butt blocks
replacing the one destroyed by electrolysis.
OK. Guilty of envy. During all of this marathon effort (the lay
days in the boatyard were $125 per day because we were doing our own
work. This compares to $20 per day in Berkeley, where we did the major
reconstruction of CHELSEA"S sstern, Roy Disney polished up the bottom of
PYEWACKET, plopped her in the water, and took off on the Transpac. Here
she is moving out of her "on the hard" location.
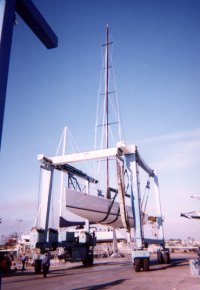
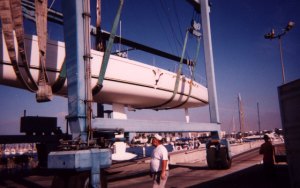
PYEWACKET and the swarm of crew (out of camera angle) approaching
the ways reminding me that I probably should have been doing this
project on the proceeds of a schrewed investment strategy rather than
consuming my monthly cashflow, savings and retirement capital. Oh well,
as one who resembles the Grasshopper more than the Ant in the fairy tale
about the two insects' approach to life, I can only say that I truly
live out the philosophy of "eat your desert first".
After the laminating-in-place process was completed each rib had an
uneven surface coating of cured epoxy/filler which had oozed out during
the curing process. This was ground away on each and every rib, a task
which took Doug about 6 days to complete!!!
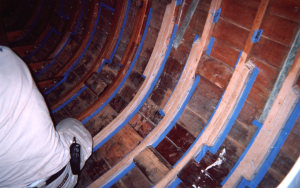
The "raw" surfaced ribs are taped off in anticipation of the finish
treatment we have chosen to seal them from the elements. It took 3
people over 6 hours to complete this taping. (18 hours)
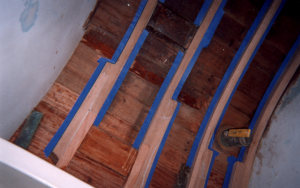
This photo show the taped-off ribs in the head. Remember the
earlier pictures of this same area as we saw it after removal of the
sole? Quite a difference!!
SMITH'S penetrating epoxy is used to fully penetrate each rib. Here
one of our volunteer "boatwrights", Richard, shows the difference
between penetrated ribs and raw ribs. This step took 3 of us about 5
hours to complete. (15 hours). Please see the note below about using
penetrating epoxy.
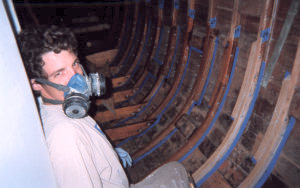
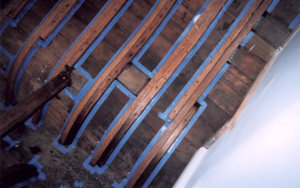
With bulkhead of the head in view to the right in this picture you
are looking at ribs and sisters which will eventually be covered up by
the portside salon berth. This photo show them after having received
the penetrating epoxy.