by Neil Atwood
Posted: March 21, 2006
|
In part one of Renovating EULALIE, PCC hull #1, I said that I thought I would be finished with the second phase by the Spring/Summer of 2005. I under estimated how long it would take. This phase of work took until November 1st, or nine months. Which includes over one thousand hours of my time, plus the hours of work done by Howard Hawk, Master Craftsman, and others at Sea View Boat Yard-West, Seattle, Washington.
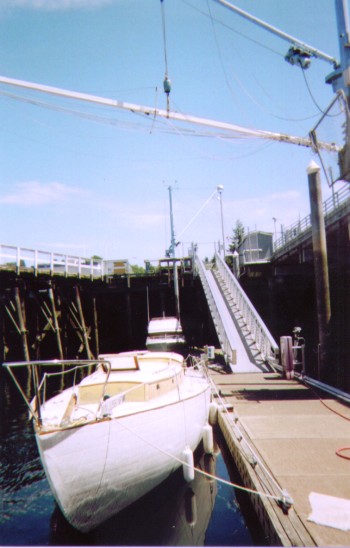
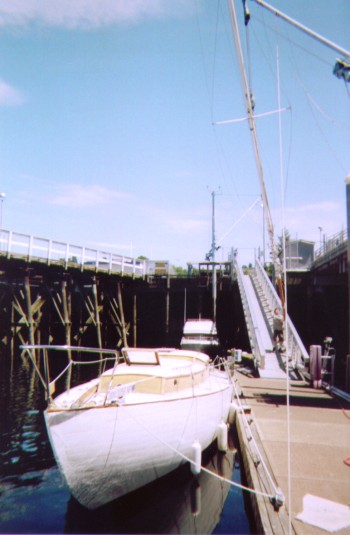
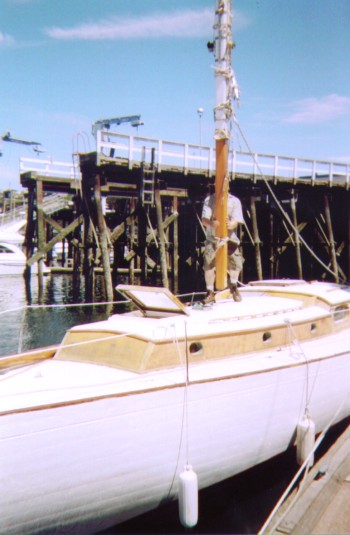
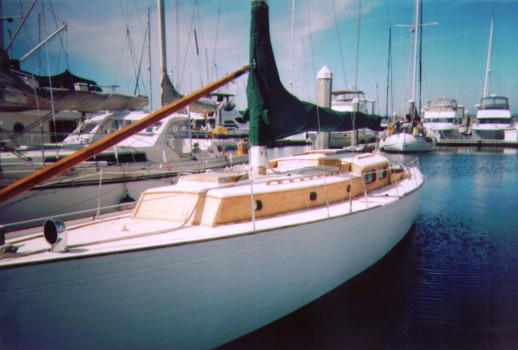
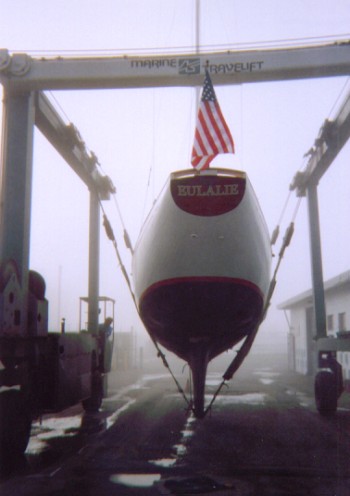
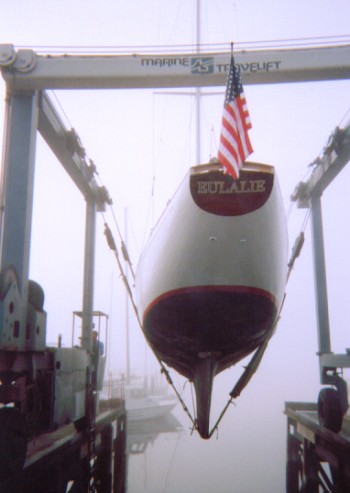
This phase of EULALIE’s renovation began when she was splashed at Seaview Boatyard-West on December 28, 2005. The first thing that needed to be accomplished was to get the hull to swell. EULALIE remained at the Seaview Boatyard-West dock (salt water) through the month of January. I was able to gauge the swelling progress by timing how long it took to activate the electric bulge pump. Which I did on a daily basis, until she stopped taking on water (about three weeks). I was told by a number of people that the swelling progress was going well, considering she had been in the desert for two years, and the hull had subsequently been completely re-caulked. As a matter of information, I asked lots of people how long they thought it would take for EULALIE’s hull to swell, and to stop taking on water. Each person had a different answer, and no one was correct. I came to the conclusion that there are too many variables to predict how long it will take until a boat will stop taking on water, under these conditions. However, I have also came to the conclusion that it should slow down dramatically within two to three days. The next project was to paint, and re-rig the mast. Also included was refinishing the boom, and the spinnaker pole. This part of the renovation was reasonably straight forward, with only a couple of surprises. EULALIE’s mast had been suspended diagonally eight feet off the ground in the warehouse in Salt Lake City. While suspended from the ceiling, it appeared that there was a bow in the mast, because the mast was held at two points for two years. However, the bow was not permanent, and EULALIE’s mast is perfectly straight. Unfortunately, the boom and spinnaker pole had been left on the deck of EULALIE for the two years in Salt Lake City uncovered. Consequently, the boom and spinnaker pole had to be taken to bare wood, before they could be refinished. All of the standing rigging, and the running rigging were coiled, and not labeled. The metal straps used to secure the spreaders had been removed. These straps are not designed to be removed, so refitting them took some time. I also discovered that the front and rear lower shrouds are not the same lenght. However, the mast looked perfect, when the re-stepping was complete on May 28, 2005.
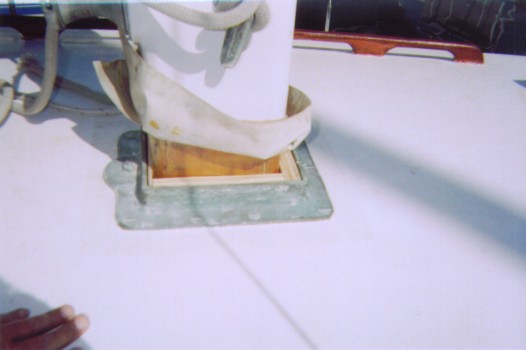
The next challenge was to design spacers for the mast that would not leak rain water into the boat. There is a quarter inch lip at the bottom of the metal mast collar in the front, and the back. Therefore, I first cut wood the correct thickness that fit on either side of the mast, that also rested on the forward and rear lip. I then cut wood the correct thickness that was fit and positioned in the front and rear space, which rested on the lip, and at a width that met the side pieces of wood. The wood thickness for the spacer at the front of the mast is three times the thickness of the wood spacer at the back of the mast. This thickness difference allows for the proper rake to the mast. I then filled all of the voids with Life-Calk. The mast also has a boot to cover this area.
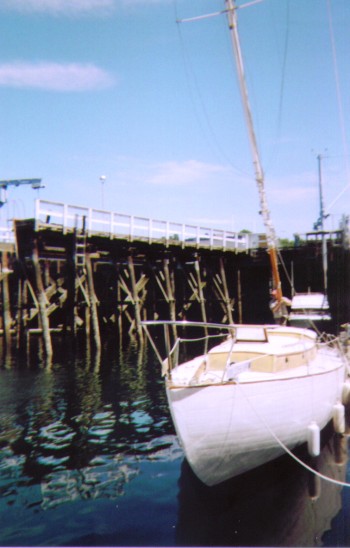
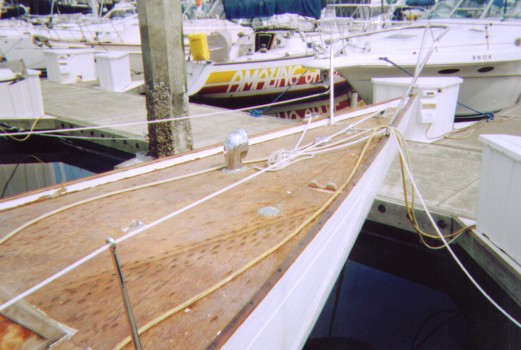
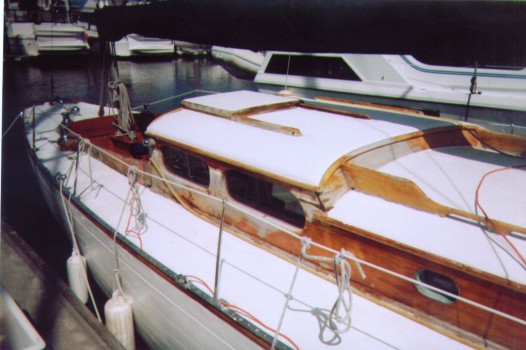
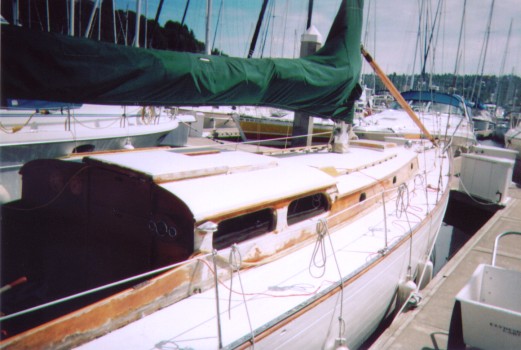
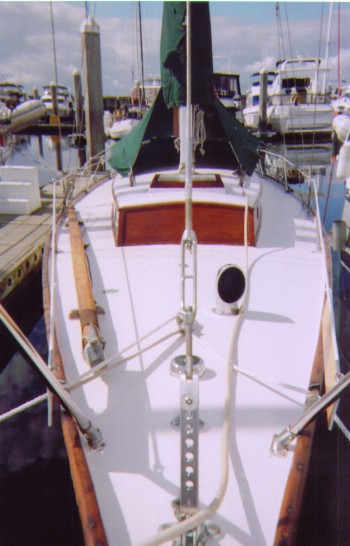
The deck had been covered with three coats of non-skid paint, over two layers of fiberglass cloth. Multiple layers of the non-skid paint had blistered and cracked from being exposed to the heat and the sun in Salt Lake City. Some of the paint had come off in mutable layers by itself in large chunks. There was no choice other than to recover the deck.
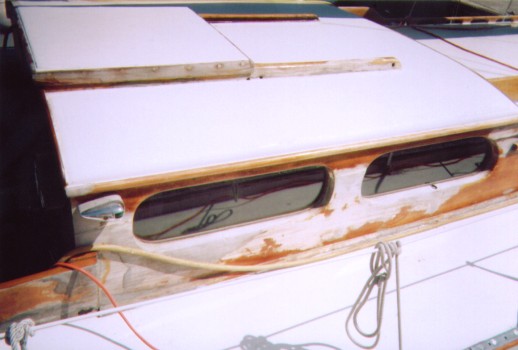
I discovered that the layer of fiberglass cloth that been applied directly to the original marine plywood deck had “gone off” too fast. Consequently, this layer of fiberglass cloth had not adhered to the marine plywood deck. Because of this, I was able to pull and chip all of the deck covering off. The same thing was not true of the fiberglass cloth applied to the top of the deck house. While the condition of the non-skid paint on the deck house was the same as the deck, the fiberglass cloth had been applied correctly. The three layers of non-skid paint on the top of the deck house had to be removed by grinding it off, down to the fiberglass cloth. This was accomplished by using a seven inch disk grinder, and many serious sanding disks. This grinding was followed by using an orbital sander, which was then followed by using a vibrating sander.
The original marine plywood deck was in excellent condition, with no dry rot. However, because the original marine plywood deck had been exposed, it was then important to completely re-seal it. Especially where the horizontal deck meets the vertical deck house and toe rail. Life-Calk was used to fill all seams, and exposed deck screw heads.
I made the decision to not recover the deck with fiberglass cloth. I made this decision because I will cover the deck with three eighths inch teak during the third phase of renovating EULALIE, using the Teak Decking Systems application. The weight of the two layers of fiberglass cloth that was removed, will be replaced with the weight of the teak. Adding a layer of fiberglass cloth beneath the teak would have added too much weight. Adding additional weight would also change the righting moment, and the ballast to displacement ratio.
Consequently, Once the deck and seams were sealed, I painted the deck with four coats of oil based primer. This was followed with two coats of non-skid paint, and three coats of oil based finish paint.
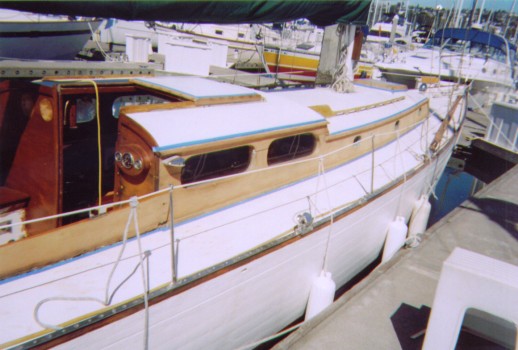
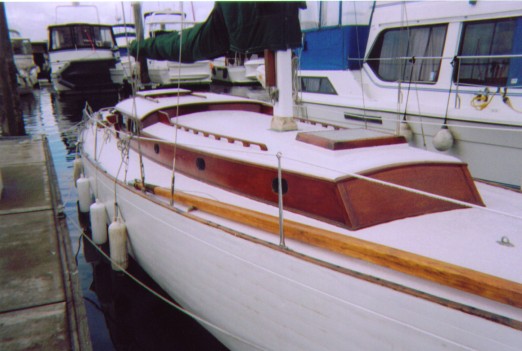
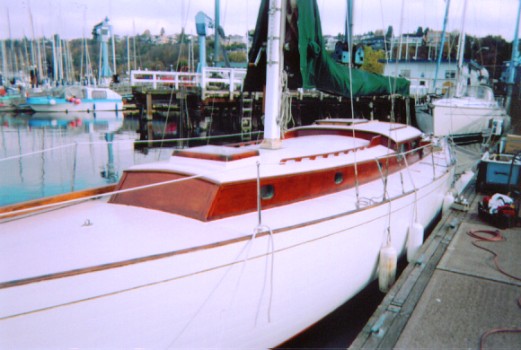
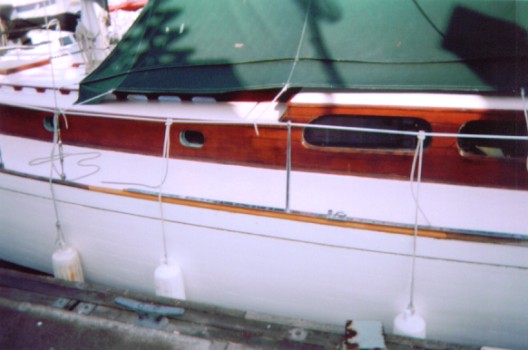
The varnished exterior bright work had also blistered and cracked from being exposed to the heat and the sun in Salt Lake City. The exposed wood also had various dark water stains from the rain. All of the exterior bright work had to taken down to bare wood. This was done using a heat gun, a orbital sander, and a vibrating sander.
I was advised that the only way to properly remove the dark water stains from the exterior bright work was to bleach the entire bright work surface. The individual dark water spots could not be bleached individually because those spots would be lighter then the remainder of the wood.
I concluded that the best solution for my immediate purposes was to stain the wood, and seal that with three coats of clear gloss Cetol.
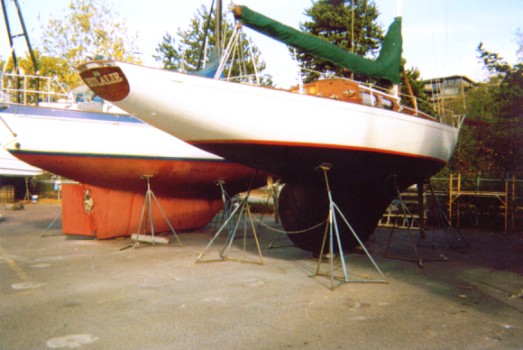
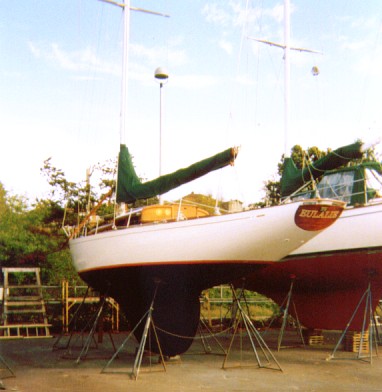
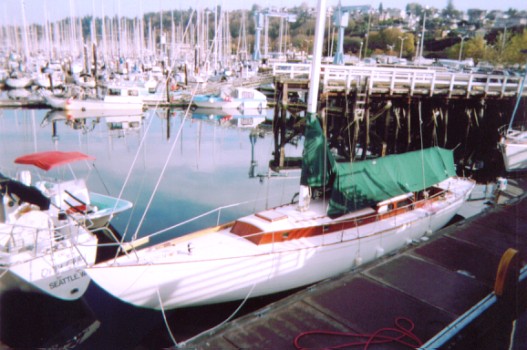
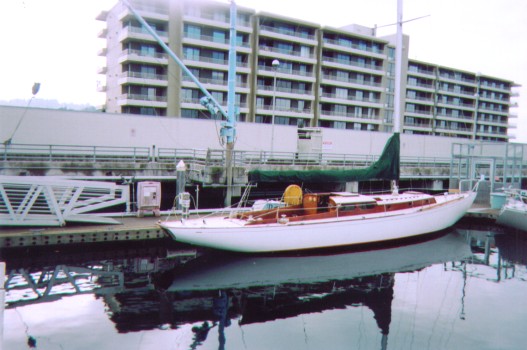
EULALIE was hauled at Seaview Boatyard-West in October, and the bottom was in excellent condition. While out of the water, the bottom received another coat of bottom paint, and two finish coats of paint were also applied to the hull. Four hull gate valves were replaced with new ball valves, and one through hull fitting was replaced. The zinc and electrical bilge pump were also replaced.
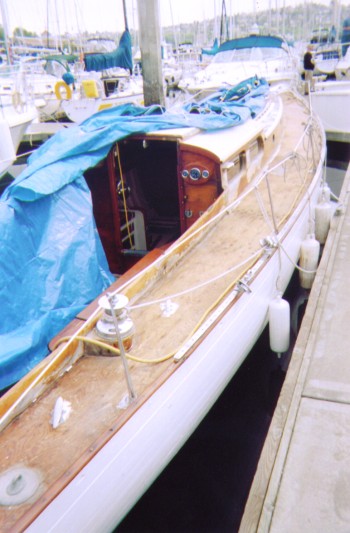
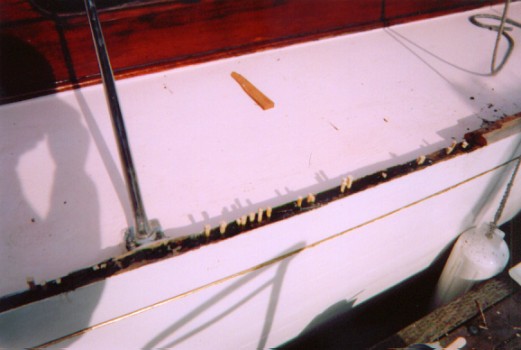
EULALIE was splashed, and the additional work was completed. The additional work included replacing six feet of the port side cap rail, and re-installing the missing track. There were many holes in this section of the toe rail, where many former screws had been placed. These holes were filled by placing tapered wood pegs in the holes, and securing them in place with epoxy resin. Once the surface was also sealed with epoxy resin, a new mahogany cap rail and wood spacer were installed. Then the track was screwed into place.
The majority of the 12v electrical system was re-wired, the complete plumbing system (fresh water/salt water/waste water) was overhauled, and the electrical instruments (GPS, Radar, knot meter, depth sounder, wind direction/wind speed, and VHF) were installed. This work at Seaview Boatyard-West took three and a half weeks.
The former owner had converted to original V berth to a single berth. He had also constructed two storage cabinets in the V berth, and covered the surfaces and cabinets with knotty pine paneling. I converted the V berth back to it’s original configuration. I also removed one of the constructed storage cabinets, and removed all of the knotty pine paneling. The salon and V berth painted surfaces have been repaired, and painted.
EULALIE’s restoration to date has taken fifteen (15) months, and approximately two thousand (2,000) man hours.
The next phase of renovation will be to finished the interior cabinetry work in the V berth, repair and paint the painted surfaces in the head, replace the missing doors to the head and hanging locker, and replace five drawers in the galley. The last phase will be to install the teak deck.
|